
DIY Wrought Iron Fence Installation: Tools, Skills, and Real Risks
A DIY wrought iron fence looks tempting on paper. Panels bolt to posts, posts go in concrete, and the hardware comes in a kit. The reality in Sparks and Reno is harder than the videos make it look. This guide walks through the actual steps, the tools you need, the skill level each step demands, and where the project goes wrong, starting with whether DIY iron fence installation makes sense for your situation. Read it before you order panels, and you will know whether to do this yourself or call a local fence company.
One note on terms first. Most kits sold today are steel or aluminum panels styled to look like traditional wrought iron. True wrought iron is forged and welded by hand. When people search for a diy rod iron fence or diy wrought iron fence panels, they usually mean these ornamental metal kits. That matters, because the kits are the only version a non-welder can install. If you want true forged iron, that is fabrication work, not a weekend project.
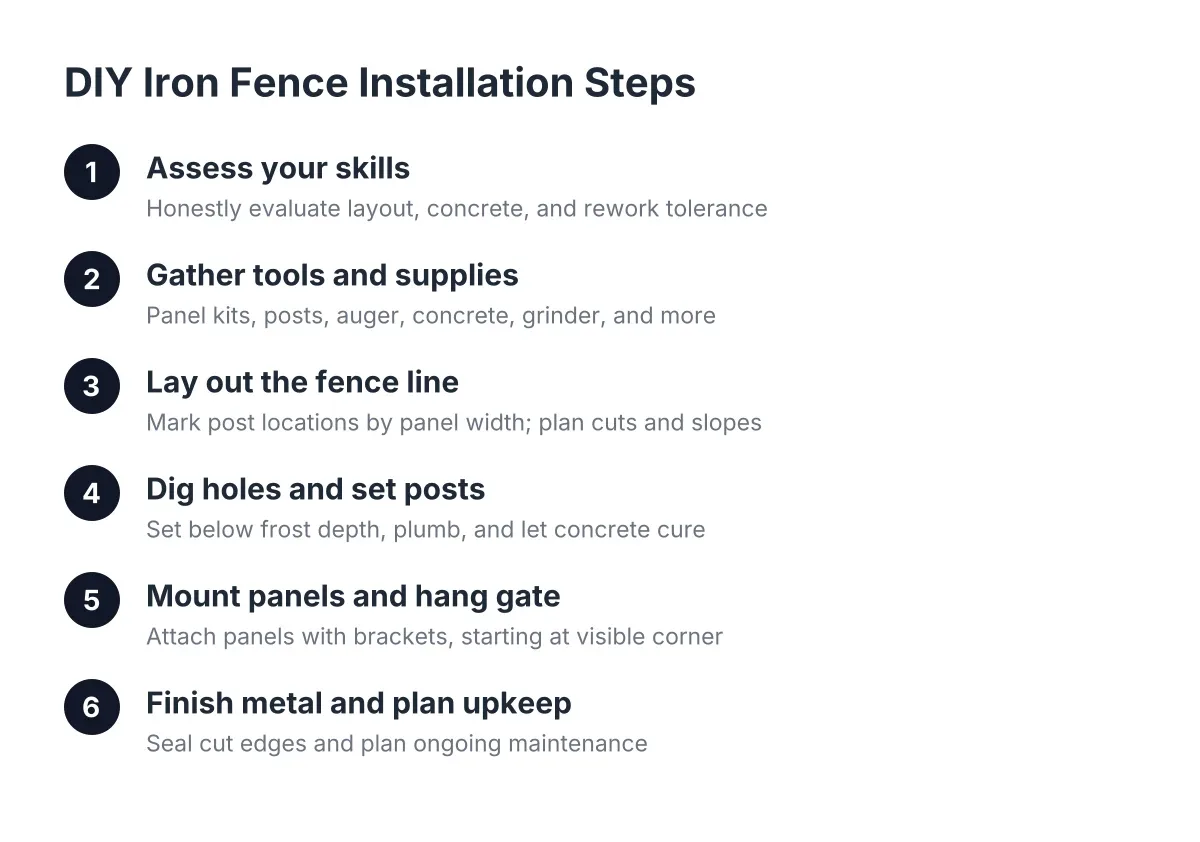
Step 1: Deciding If DIY Iron Fence Installation Fits Your Skills
Be honest about three things before you spend money: your layout skills, your concrete experience, and your tolerance for rework. An ornamental iron fence forgives nothing. Wood can be trimmed and shimmed. A chain link fence can be stretched to cover small errors. Metal panels come in fixed widths, and a post set two inches off means the panel does not fit. Period.
You need to be comfortable with these tasks:
- Measuring and squaring a layout over long runs, including slopes
- Digging post holes to a consistent depth in rocky, alkaline Washoe County soil
- Mixing and placing concrete, and plumbing posts while it sets
- Cutting metal with a grinder or metal-cutting saw when a run does not divide evenly into panel widths
- Hanging a gate so it swings true and latches, year after year
If any of those make you hesitate, the gate and the cut panels are where you will feel it most. Suppose a landlord in Sun Valley with three rentals decides to fence one backyard himself to save on labor. The straight runs go fine. Then the last section comes up 31 inches short of a full panel, the gate post leans after the first freeze, and he spends two more weekends fixing what a crew would have handled on day one. That trade-off, time versus labor cost, is the real decision here.
Step 2: Gather the Tools and Supplies
Searching for wrought iron fence supplies near me will turn up panel kits, posts, brackets, and gate hardware at big-box stores and online metal fence suppliers. The panels are the easy part. The tool list is where DIY budgets get a surprise. Here is what the job actually takes:
- String line, stakes, and a long tape measure for layout
- Post hole digger, plus a digging bar for the rocky ground common around Reno
- Powered auger rental if you have more than a handful of holes
- Level, and ideally a post level that straps on while you work
- Concrete, a mixing tub or mixer, and a wheelbarrow
- Angle grinder with metal cutoff wheels for shortened sections
- Drill with metal bits, wrenches, and the bracket hardware for your kit
- Touch-up paint rated for metal, to seal every cut edge
- Gloves and eye protection; cut metal edges are sharp
In addition, call 811 before you dig. Buried utility lines do not care how good your layout is. If your property sits in a newer subdivision, check HOA rules on fence height and style before ordering anything. Plenty of decorative wrought iron fence panels meet HOA standards, but the approval has to come first.
Step 3: Lay Out the Fence Line and Mark Post Locations
Layout is the step that decides whether the whole project works. Stretch a string line along the entire fence path, pulled tight between stakes at the corners. Mark every post location based on your panel width plus bracket spacing, and measure twice. On metal fence jobs, post spacing errors are the number one cause of panels that will not mount.
Plan your cuts now, not later. Almost no yard divides evenly into full panels. Measure each run, figure out where the short section lands, and put cut panels in the least visible spots: along a side yard or behind a shed, not facing the street. Save full panels for the front. That is how professional installers make a job look clean, and it costs nothing but planning.
Slopes add another layer. Ornamental panels either rack (angle slightly to follow grade) or step down in level sections. Check what your kit allows before you commit to a layout. A steep grade along a Reno hillside lot can push a kit past its racking limit, and that is a point where a fabricated fence installed by a crew becomes the practical answer.
Step 4: Dig Holes and Set the Posts in Concrete
Posts carry the entire fence, so this step gets no shortcuts. Dig each hole below the local frost depth, because Washoe County winters cycle through freeze and thaw, and a shallow post heaves out of plumb by spring. The high-desert wind here is the other force working against you. A fence that catches wind on an open Sparks lot needs posts set deep and solid, not wiggled into a shallow pocket of concrete.
Set each post in concrete, check plumb on two faces, and brace it until the concrete cures. Keep checking the string line as you go; a post that drifts even an inch throws off every panel after it. Crown the concrete slightly at the surface so water sheds away from the post instead of pooling against it. Pooled water plus freeze-thaw is how metal posts rust at the base years ahead of schedule.
Therefore, do not rush this stage. Setting posts one day and hanging panels the next is the sequence that works. Hanging panels on green concrete is the sequence that leans.
Step 5: Mount the Panels and Hang the Gate
Once the concrete cures, attach the panels using the brackets supplied with your kit. Start at the most visible corner and work outward, keeping the top rail height consistent along the run. Where a run needs a shortened section, cut the panel with a grinder, file the edges, and seal every cut with metal-rated paint. Bare steel at a cut edge is where rust starts first in our climate.
The gate deserves its own afternoon. A DIY iron fence installation's most challenging element is the gate, because it hangs on one post and swings for decades. Use a heavier gate post if your kit offers one, set it deeper than the line posts, and adjust the hinges until the gate swings without dragging and latches without lifting. For a landlord, the gate matters double. A gate that sags means tenant calls, and on a rental with a pool, a self-closing, self-latching gate is a compliance item, not a style choice. Isolation fencing that fully encloses a pool is more protective against drowning than fencing that uses the house as one side, according to Cochrane. Pool barrier work is one place to bring in a professional rather than guess at code.
Step 6: Finish the Metal and Plan the Upkeep
Walk the finished fence and touch up every scratch, bolt head, and cut edge with paint. Ornamental steel resists rust through its coating; any break in that coating is an opening. Plan to walk the fence once a year, spring is a good habit, and spot-treat chips before they spread. That small routine is why metal fencing holds its value. Metal fencing, including steel and ornamental wrought iron styles, held the largest share of the US fencing market at 56.4% in 2025, according to Grand View Research, and low upkeep is a big part of why.
If you want screening along with the look, you can make a wrought iron fence private later by adding slats, mesh, or plantings, though wind load goes up when you do, so your posts need to be set for it from the start.
Where DIY Iron Fence Installation Projects Go Wrong
Most failed diy wrought iron fence installs trace back to three mistakes: posts spaced off from panel width, posts set too shallow for frost and wind, and cut edges left unsealed. All three are invisible on day one and obvious by year two. The fourth failure is scope. A flat 60-foot backyard run with one gate is a reasonable DIY project for a careful homeowner. A sloped corner lot, a long street-facing run, multiple gates, or a pool enclosure is crew work.
There is also a version of this project that is pure decoration. A diy faux wrought iron fence made from PVC or foam shows up every October as Halloween yard decor, and it is a fun build. Just keep the categories straight; a faux fence holds nothing back, contains no dog, and meets no code.
For a rental owner batching work across two or three Sparks and Reno properties in 2026, the honest math usually favors hiring the fence installation out and spending your own time on the turnovers. For a homeowner with one straight run, decent tools, and patience for concrete, the kit route works. Either way, now you know what the job actually involves, which was the point.
If you need wrought iron fence installation, Reno Sparks Fence Pros can help.
Prefer to talk it through? Call (775) 369-4729 — a quick call is usually the fastest way to get a straight answer for your situation.