
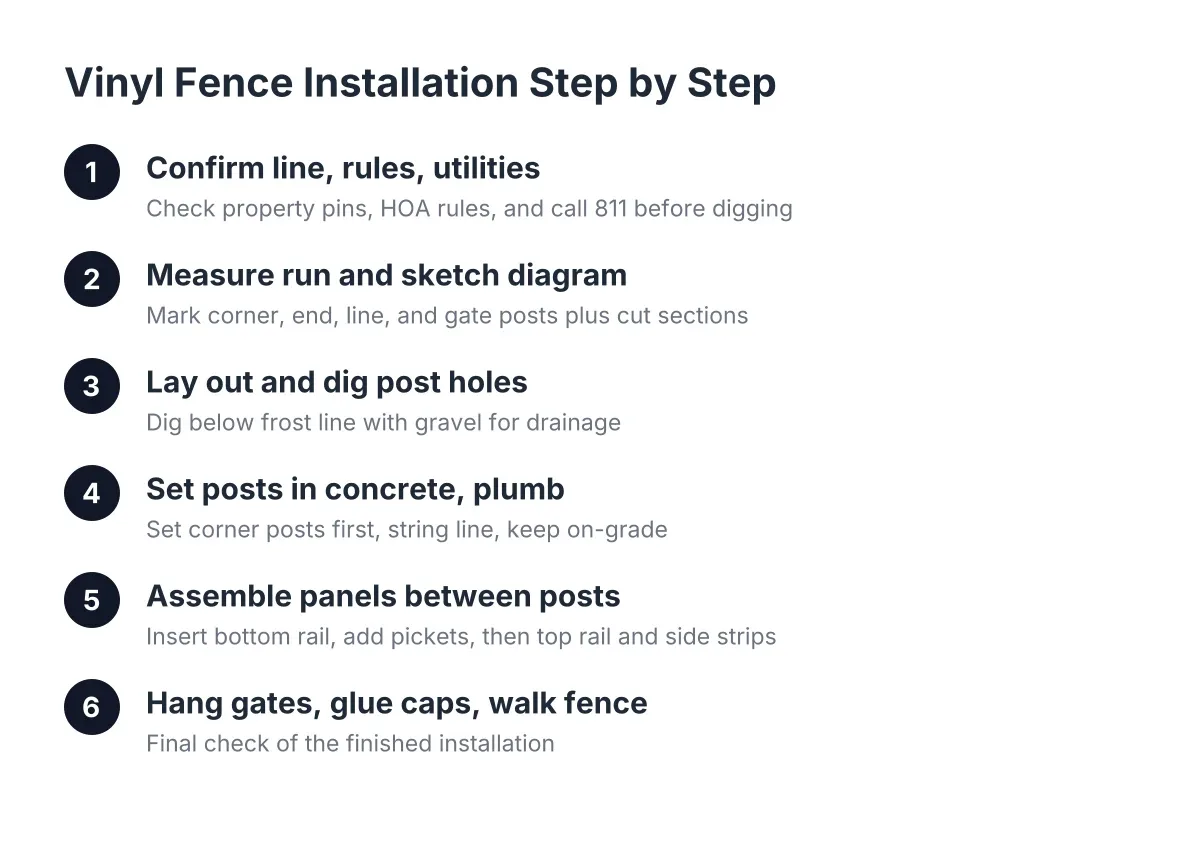
Vinyl Fence Installation Step by Step: A Sparks-Reno Homeowner’s Guide
Vinyl fence installation looks simple in the videos. Set some posts, snap in some panels, done. In Sparks and Reno, the ground has other plans. High-desert wind loads, freeze-thaw cycles through Washoe County winters, and alkaline soil all change how posts get set and how long the fence stays straight. This guide walks through the full process, step by step, whether you plan to do the work yourself or want to know exactly what a local fence company should be doing on your property.
This matters double if you are rebuilding after damage. Say a wind storm took down a wood fence section and your insurance claim is paying for a vinyl replacement. The adjuster will want an itemized scope, and you will want to confirm the work matches it. Knowing each step helps you check both.
Step 1: Confirm the Line, the Rules, and the Utilities
First, find your property pins or pull your plat map. A fence built even a foot over the line can turn into a legal problem later, especially in older Reno ranch-style lots where original fences wandered.
Next, check your HOA rules before you buy anything. Many newer Sparks subdivisions limit vinyl fence height, color, and style. Property managers handling common-area perimeter fencing should also confirm whether the HOA's architectural guidelines specify a panel style, since replacing shared fencing with a non-matching profile creates disputes fast.
Then call 811 at least two working days before you dig. Gas, water, and irrigation lines run shallower than most people expect. This step is free and it is not optional.
If storm damage started this project, photograph everything before you remove the old fence. Insurance adjusters want pictures of the damage as it sits, plus an itemized estimate that breaks out posts, panels, gates, concrete, and labor as separate line items. A local fence company that writes estimates that way will save you weeks of back and forth on the claim.
Step 2: Measure the Run and Sketch a Vinyl Fence Installation Diagram
Measure the total run with a long tape or measuring wheel, then divide by your panel width to find post count. Most vinyl panels come in standard widths, so the math rarely works out to full panels across the whole run. You will almost always have at least one cut section.
Sketch a simple vinyl fence installation diagram: mark every corner post, end post, line post, and gate post, plus the cut sections. Put the cut sections in the least visible spots, like behind a shed or along a side yard. Full panels go where you see the fence from the patio or the street. That one planning decision separates a clean job from one that looks pieced together.
Order materials from your diagram, not from a rough guess. Include:
- Posts, sorted by type: line, corner, end, and gate posts
- Panels or rail-and-picket kits for each section
- Side strips, brackets, and the specialized screws your system calls for
- Post caps and PVC glue
- Concrete, gravel, string line, and stakes
Step 3: Lay Out and Dig the Post Holes
Run a string line along the full fence path and mark each post location from your diagram. Keep spacing exact; vinyl panels do not stretch or shrink to cover layout errors the way a wood fence can be scribed to fit.
Dig below the local frost line. Washoe County's freeze-thaw swings will heave a shallow post out of plumb within a season or two. A few inches of gravel in the bottom of each hole helps drainage, which matters in our alkaline, often compacted soil.
Hole depth and width depend on post type. Gate posts and corner posts carry more load and usually need deeper, wider footings than line posts. In exposed Sparks lots that catch the afternoon wind off the valley, a solid privacy panel acts like a sail; the posts are the foundation of the whole system, and skimping here is the most common cause of a leaning vinyl fence.
Step 4: Set the Posts in Concrete, Plumb and On-Grade
Set the first corner or end post, brace it plumb in both directions, and pour the concrete. Then set the far post on that run, pull a tight string between the two at the top, and set every line post to that string. This keeps the fence top straight even where the ground dips.
Check post height against your panels before the concrete cures. A post set an inch low means a panel that will not seat, and vinyl gives you no room to fudge it. Let the concrete cure fully before you hang any panels; loading a green footing is how straight fences turn crooked.
For tough spots, there is a reinforcement trick worth knowing. Where a vinyl post must butt against an existing fence, squeeze near a tree, or anchor a heavy gate, installers can set a steel pipe in concrete and sleeve the vinyl post over it. The fence looks the same, but that post will not flex.
Step 5: Assemble the Panels Between Posts
How to install vinyl fence panels depends on your system, but the sequence is similar across brands. Insert the bottom rail into the post routes or brackets first. If your run between posts is shorter than a full panel, cut the rails so they fit snug between the posts, then secure them with the system's screws.
Pickets come next. Two methods work: slide all pickets into the bottom rail and cap them with the top rail, or set the top rail first and pop pickets in one at a time. Neither is wrong; rail-first can make the last few pickets easier to seat.
Two details make the job cleaner:
- Start each panel with the picket's groove side facing in. When you reach the post, you can see exactly where the groove stops, which makes marking and cutting the final picket accurate.
- Install the side strips on the posts after the rails are set. They lock the grooved pickets in place so panels do not rattle in the wind.
On sloped ground, which describes half the lots on the Reno side of the valley, you do not have to build every panel in the same direction. Reverse the build direction on a downhill section so the pickets do not slide away from you as you insert them.
Step 6: Hang Gates, Glue Caps, and Walk the Finished Fence
Hang the gate last, after every post has cured and every panel is locked in. Check the swing clearance through its full arc and adjust the hinges so the latch catches without lifting the gate.
Glue the post caps on properly. Apply PVC glue inside the cap, then press it onto the post for a sealed, permanent fit. Caps that are only pressed on end up in the neighbor's yard after the first real Washoe wind event.
Finally, walk the whole line. Sight down the top rail for dips, push on each post, test every picket lock, and cycle the gate ten times. If insurance paid for the job, photograph the finished fence and keep the itemized invoice with your claim file; adjusters sometimes ask for completion documentation before releasing the final payment.
When to Hire Out Your Vinyl Fence Installation
Hire a professional for vinyl fence installation when the job involves slopes, long exposed runs, gate posts, insurance documentation, or HOA common-area fencing. The material itself is forgiving; the layout, footings, and paperwork are where DIY jobs go wrong. A straightforward flat backyard run is a reasonable weekend project for a careful homeowner with a helper.
Searching for vinyl fence installation near me will surface plenty of options, so judge them on specifics. A residential fence company worth hiring should explain post depth for local frost conditions, how they handle slopes, and how they write an estimate an insurance adjuster or an HOA board can actually approve. Property managers bidding out a multi-phase perimeter replacement should ask how the crew will phase the work and whether they can invoice the association directly.
Be honest about the trade-offs too. Vinyl resists rot and fading far better than a wood fence, which matters in high-UV desert sun. It is still PVC, though; it can burn in a wildfire scenario, and a cracked panel usually gets replaced rather than patched. If your layout involves retaining walls, easements, or a disputed property line, bring in a professional before you dig, because fixing a misplaced fence costs more than setting it right the first time.
Done in order, these six steps produce a fence that stays plumb through the freeze-thaw cycles and wind that take down lesser work across Sparks and Reno every winter.
If you need vinyl fence installation, Reno Sparks Fence Pros can help.
Prefer to talk it through? Call (775) 369-4729 — a quick call is usually the fastest way to get a straight answer for your situation.