
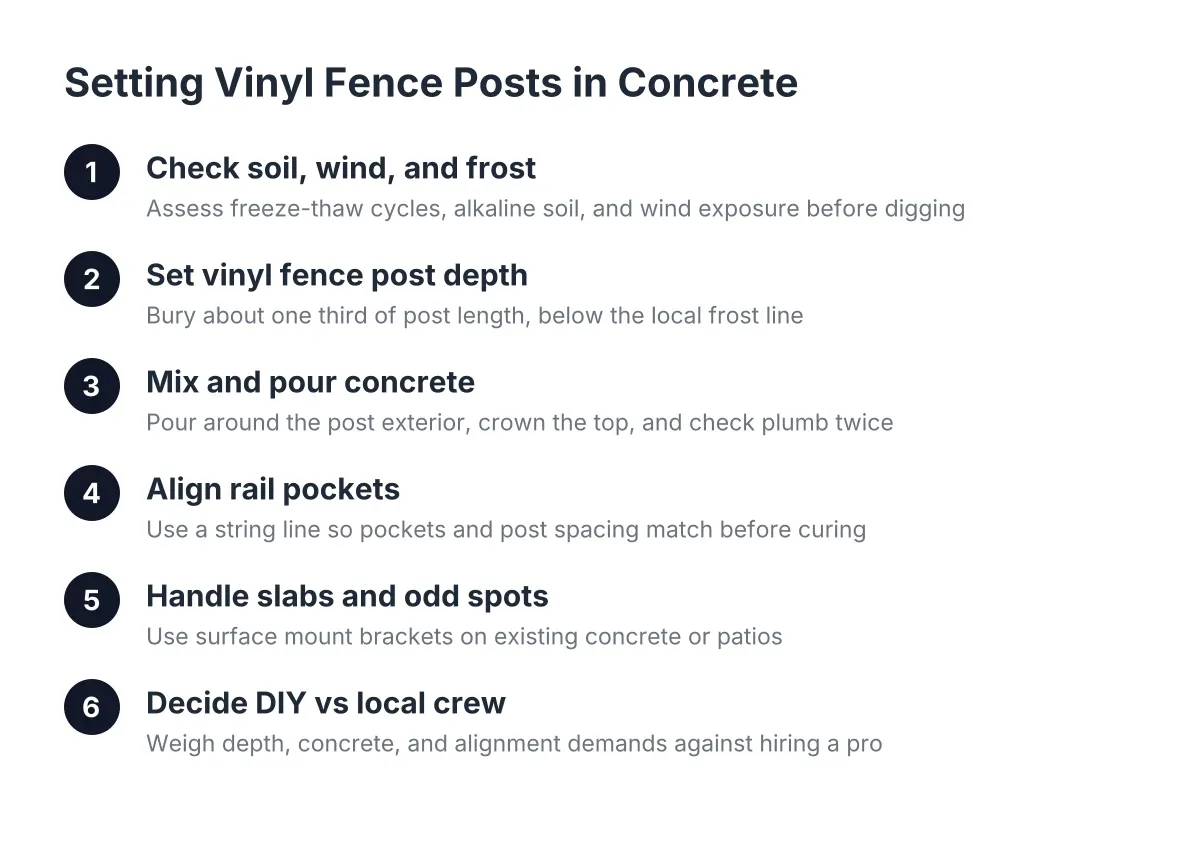
Setting Vinyl Fence Posts in Concrete: Depth and Freeze-Thaw Rules for Reno
Most vinyl fences in Sparks and Reno do not fail at the panels. They fail at the posts. Setting vinyl fence posts in concrete is where the whole system holds or leans, and Washoe County makes it harder than the national how-to guides admit. The correct vinyl fence post depth determines whether your fence will stand straight through local freeze-thaw winters and high-desert winds. Our high-desert wind pushes hard on solid vinyl panels, and our freeze-thaw winters work on any footing that was poured shallow or sloppy. This guide walks through the process step by step, with the depth and concrete decisions that matter in local soil, so you can judge whether to do it yourself or hire a local fence company.
A vinyl post is the foundation of the fence. The panels just ride on it. A wood fence can flex and forgive a weak post for a few seasons. Vinyl cannot. If one post heaves or tilts, the rails pull out of their pockets and the lean shows from the street. So read this before you rent an auger, not after.
Step 1: Check the Soil, Wind Exposure, and Frost Conditions First
Before you buy a bag of concrete, figure out what your ground will do to it. Washoe County winters cycle between freeze and thaw, sometimes several times in a week. Water in the soil freezes, expands, and pushes up on anything shallow. A footing that sits above that movement zone will ratchet upward a little each winter until the post leans.
Local soil adds a second problem. Much of the Sparks and Reno area has alkaline, sometimes rocky or compacted soil. That affects how deep you can dig and how well water drains around the footing. Poor drainage means more water sitting against the concrete, which means more freeze-thaw pressure.
Wind is the third factor. A solid-panel vinyl fence acts like a sail in the gusts that come through the valley. An open chain link fence lets wind pass through; vinyl privacy panels catch all of it. That load transfers straight to the posts and their concrete footings. Corner posts, gate posts, and posts on exposed ridgelines take the worst of it.
Step 2: How Vinyl Fence Post Depth Works in Concrete
How deep should vinyl fence posts set in concrete? A common rule of thumb is to bury about one third of the total post length, and in freeze-thaw country the bottom of the concrete footing should sit below the local frost line. Depth matters more than almost any other choice in the job, because a shallow footing is the one mistake you cannot fix without digging the post back out.
Depth is only half of the hole. Width matters too. A post needs a generous collar of concrete on all sides to resist wind load. A tight hole with a thin skin of concrete around the post will crack and let the post rock. Dig wider than feels necessary, especially at gate and corner posts.
Shape the hole with a slight bell at the bottom if you can; a footing that is wider at its base than at the surface resists frost heave better than a straight cylinder. In addition, do not leave loose dirt in the bottom of the hole. Tamp it or add a few inches of gravel so the footing bears on firm ground and water can drain away from the base.
Step 3: Mix and Pour the Concrete the Right Way
Does a vinyl fence post need concrete inside it or just around it? For standard installations, the concrete goes in the hole around the outside of the post, not inside the hollow sleeve. The footing grips the post from the outside and transfers wind load into the ground. Some installers add concrete or a reinforcing insert inside gate posts and heavy corner posts, where extra stiffness pays off.
Fast-setting concrete mix is the common choice for fence work because it cures quickly and keeps the job moving. Whatever mix you use, it needs water to cure properly. Dry-pour methods that rely on soil moisture are a gamble in our dry climate; the mix at the center of a deep hole may never fully hydrate. If you watch a vinyl fence installation video shot in a wetter state, remember that trick may not translate to high-desert ground.
Work in this order at each hole:
- Set the post, then pour concrete evenly around all sides so the collar is uniform.
- Crown the top of the wet concrete so water sheds away from the post instead of pooling against it.
- Check plumb on two faces with a level before the mix stiffens, then check again a few minutes later.
- Brace the post and leave it alone until the concrete sets. Do not hang panels the same hour you pour.
One finishing detail: in a lawn, stop the concrete a few inches below grade and cap it with soil. Grass then grows flush against the post line instead of a ring of gray concrete showing at every post.
Step 4: Align the Rail Pockets Before Anything Cures
Vinyl posts come with routed openings for the rails. Those pockets must line up exactly from post to post before the concrete hardens. Miss by an inch and the rail will not seat, and there is no trimming your way out of it once the footing cures.
Run a string line along the full fence run and set each post to it. Check pocket height against the string, not against the ground, because the ground lies. Dry-fit a rail between posts as you go; rails can be cut to length so they sit snugly in the pockets, but the pockets themselves have to agree with each other first.
Spacing is just as unforgiving. Vinyl panels come in fixed widths, so post centers must match the panel system. Wood fence pickets let you absorb a few inches of error across a run. Vinyl does not. Lay out every post location before you dig the first hole.
Step 5: Handle Slabs, Patios, and Odd Spots Differently
What if a post lands on an existing concrete slab, patio, or walkway? You have two main paths. First, a vinyl fence post concrete mount, a surface bracket that bolts the post to the slab with anchors. These brackets work for shorter runs and sheltered spots, but a surface mount gives up leverage against wind compared to a buried footing, so think twice before using one on a tall privacy panel in an exposed yard.
The second path keeps the full-depth footing. An installer core-drills a clean round hole through the slab, digs below it, and sets the post in concrete the standard way. Core drilling preserves the look of a patio or driveway where breaking it out with a jackhammer would leave a patched scar. This is one of the points where hiring makes sense; core drills are not a casual rental for most homeowners.
Tight spots call for a third trick. Where a post butts against a neighbor's fence or works around a tree, installers sometimes set a steel pipe in the concrete and sleeve the vinyl post over it. The steel carries the load; the vinyl provides the finish. Suppose a landlord in Sun Valley owns a duplex where the side yard fence dies into a shared block wall; a reinforced sleeved post at that junction is how a crew keeps it from working loose with gate traffic between tenant turnovers.
Step 6: Decide Honestly Between DIY and a Local Crew
Setting one or two posts is a weekend job. Setting forty of them straight, at consistent vinyl fence post depth, with aligned pockets, in rocky Washoe County soil, is a different animal. Be honest about which job yours is.
DIY can make sense when the run is short, the ground digs clean, the fence sits out of the worst wind, and you have help for the layout. Hiring a local fence company makes sense when the run is long, the yard slopes, posts land on slabs, or gates are involved. Mistakes in vinyl fence installation concentrate at the footings, and redoing a cured footing means breaking out concrete and starting over, so the cost of getting it wrong is not just materials.
For a small landlord with units in Sparks and Reno, the math usually tips toward hiring. Fence problems surface at tenant turnover, timing is tight, and a tilted DIY fence line between inspections becomes your problem twice. One crew that knows local soil and wind, handling repairs and replacements across your properties as of 2026, beats relearning footing depth at every unit.
Quick Answers on Vinyl Posts and Concrete
Can you set vinyl fence posts without concrete?
Vinyl fence posts without concrete, set in tamped gravel or driven anchors, can work in sheltered, well-drained ground with short fences. In the Reno area, wind load on solid vinyl panels and freeze-thaw soil movement make a proper concrete footing the safer default. The concrete objection people raise about wood, that backfill traps moisture against the post and feeds rot, does not apply to vinyl, since vinyl does not rot.
How long before you hang panels on new footings?
Wait until the concrete has set firm before loading the posts with rails and panels, and longer before hanging a gate. Fast-setting mixes shorten the wait, but temperature matters; cold Washoe County mornings slow curing. Rushing this step is how straight posts end up leaning by spring.
When should a pro make the call?
If your fence line crosses a slope, a utility easement, or an HOA sightline rule in a newer Sparks subdivision, get professional eyes on the layout before digging. Call for utility locates in every case. And if your soil turns out to be rock or caliche a foot down, a crew with the right equipment will save you a ruined weekend and a bent auger.
If you need vinyl fence installation, Reno Sparks Fence Pros can help.
Prefer to talk it through? Call (775) 369-4729 — a quick call is usually the fastest way to get a straight answer for your situation.