
Horizontal Wood Fence Gate Guide: How to Build, Hang, and Pick Hardware
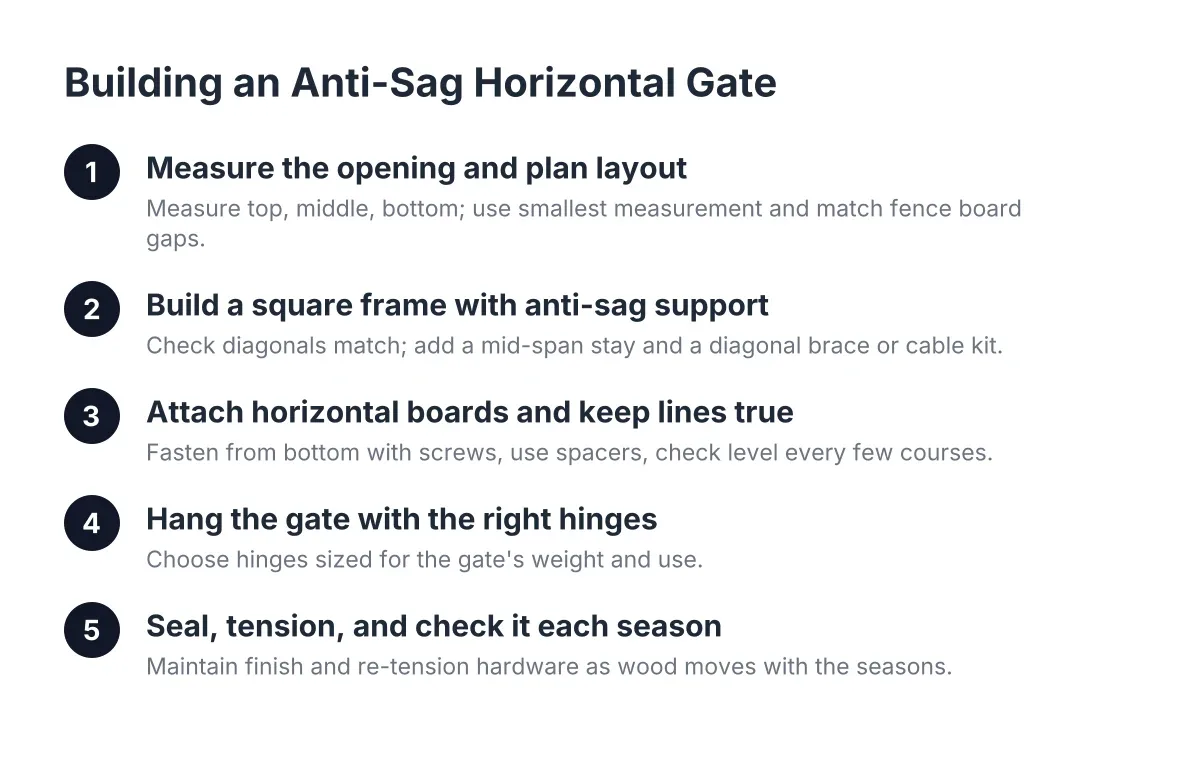
A gate is the hardest part of any fence to get right, and a horizontal wood fence gate is the hardest gate of all. The boards run the same direction gravity pulls, so every bit of sag shows. The gaps between boards have to line up with the fence on both sides, or the whole run looks off. When building a horizontal gate with anti-sag support, you walk through the process step by step, plus the hardware choices that decide whether it still swings clean in five years.
We install fences in Sparks and Reno, so the advice here accounts for what this area throws at a gate: high-desert wind loading, freeze-thaw cycles through Washoe County winters, and the dry air that moves wood more than most people expect. Whether you plan to build one yourself or just want to know what a good crew should be doing, the steps are the same.
Why Horizontal Gates Sag More Than Vertical Ones
A vertical picket gate hides small errors. A horizontal one broadcasts them. When boards run side to side, they act like straight lines drawn across your yard. If the gate drops even a little at the latch side, those lines break against the fence boards next to them, and your eye catches it from the driveway.
There is also a structural reason. On a standard vertical gate, the pickets hang from rails, and the frame does most of the work. On a horizontal gate, each board spans the full width of the gate frame and carries its own weight across that span. Wider gates mean longer spans, more flex, and more chance of boards bowing in and out as the wood dries.
Therefore, a horizontal gate lives or dies on three things: a square frame, real anti-sag support, and hinges sized for the weight. Get those right and the rest is carpentry.
Step 1: Measure the Opening and Plan the Board Layout
Start at the opening, not the lumber pile. Measure between the gate posts at the top, middle, and bottom. Posts rarely sit perfectly plumb, so use the smallest measurement. Then subtract room for hardware and swing clearance, usually about an inch total split between the hinge and latch sides.
Next, plan the board layout before you cut anything. The gate boards need to land at the same heights as the fence boards beside them. Lay out the pattern on paper first:
- Count the boards and gaps on the adjoining fence section.
- Match the gap size exactly; a horizontal wood fence with gaps reads as one continuous design only if the spacing carries through the gate.
- Decide whether the gate reads as part of the fence or as a feature. A modern horizontal wood fence gate often uses the same boards but a contrasting frame or hardware to stand out.
- Note where boards will splice if your gate is wide; a vertical trim strip can cover splice points for a cleaner face.
For privacy builds with no gaps, the same rule holds. A horizontal privacy fence gate should sit flush in the plane of the fence so the board lines run uninterrupted when the gate is closed.
Step 2: Building a Square Frame With Anti-Sag Support and Bracing
The frame is the skeleton. Build a rectangle from two-by-four or two-by-six lumber, with a top rail, a bottom rail, and two vertical stiles. Check it for square by measuring both diagonals; they must match before anything gets fastened permanently.
On any gate wider than a few feet, add a vertical stay in the middle of the frame. Horizontal boards bow in and out over time without a mid-span support to anchor them, the same reason horizontal fence sections need a stay board between posts. The stay gives every board a third fastening point and keeps the face flat through dry summers and wet springs.
In addition, plan your anti-sag strategy now, not after the gate droops. You have two main options:
- A wood diagonal brace running from the bottom hinge corner up to the top latch corner, which puts the brace in compression.
- A steel cable or turnbuckle anti-sag kit running the opposite way, from the top hinge corner down to the bottom latch corner, which works in tension.
Either works. The wood brace looks more traditional and is one more board to buy. The cable kit lets you re-tension the gate later with a few turns, which is useful as the wood seasons. Some homeowners skip the horizontal wood fence gate kit route entirely and use a welded steel frame kit instead; those resist sag best but cost more and change the look.
Step 3: Attach the Horizontal Boards and Keep the Lines True
Fasten the boards to the frame starting from the bottom. Use exterior screws, not nails; screws hold through the wood movement that Washoe County freeze-thaw swings cause, and they let you pull a board later if one cups or splits.
Use spacers to keep every gap identical. A scrap block cut to your gap size works better than measuring each course. Check the boards for level every three or four courses, because small errors compound fast on a horizontal design. Maintaining consistent spacing and checking a horizontal gate structure against sag requires diligent work during installation.
For example, suppose a homeowner in a Spanish Springs new build is matching a four-foot gate to a six-foot wood horizontal fence along the side yard. If each gap drifts by even a sixteenth of an inch, the top gate board can miss the fence line by half an inch at eye level, right where everyone looks. Spacer blocks and a level prevent that; eyeballing does not.
Let board ends run slightly long if you want, then snap a line and trim both edges at once with a circular saw. One clean cut beats sixteen individual ones.
Step 4: Hang the Gate With the Right Hinges
Hardware is where most DIY gates fail, because horizontal gates weigh more than they look. Solid boards, a full frame, and a brace add up fast. Undersized hinges work loose within a season, and then the sag starts.
Choose hinges by weight and use, not by what hangs on the nearest shelf:
- Heavy-duty strap hinges spread the load along the frame and suit wide or solid-board gates.
- Ball-bearing butt hinges give a cleaner, modern look but need a stout frame to bite into.
- Self-closing spring hinges matter for pool areas and pet yards, and many HOA rules in newer Sparks and Reno subdivisions expect self-closing, self-latching gates near pools.
- Through-bolted hardware beats lag screws on heavy gates; bolts will not strip out of seasoned posts.
Before final hanging, pre-rack the gate: set it in the opening on blocks, shim it to the exact height and gaps you want, and temporarily screw the hinges to the post. This holds the gate squared in position while you check the swing, then drive the permanent fasteners. Hanging a heavy horizontal gate freehand is how latch sides end up low.
Finally, mount the latch so it engages without lifting the gate. If you have to lift to latch, the gate is already telling you where it will sag.
Step 5: Seal, Tension, and Check It Each Season
Wood moves most in its first year. Seal or stain all six sides of each board if you can, including the cut ends, because end grain drinks water fastest and alkaline soil splash at the gate bottom accelerates rot. Leave a couple of inches of clearance under the gate so boards never wick moisture off the ground.
Then put the gate on a short seasonal schedule. After the first winter, check the diagonals again, re-tension the cable if you used one, and snug any hinge bolts that loosened. According to Angi, wood fences last about 15 years on average, up to 20 depending on wood type, climate, and pest exposure, and the gate is almost always the first component to show its age. A few minutes of tightening each spring buys years.
If a gate was already damaged, say wind took a fence section and the gate with it during a Washoe County storm, document the damage with photos before any repair and get an itemized written estimate. According to Angi, wood fence repair costs run $300 to $925 on average, and insurance adjusters generally want line-item detail, not a lump sum, before they approve a fence damage claim.
Horizontal Wood Fence Gate Designs With Anti-Sag Structural Choices
Once the structure is sound, the design choices are where the style lives. A few directions homeowners in newer Reno and Sparks developments ask about:
- Full-privacy gate with tight boards and a hidden steel frame, flush with the fence plane.
- Horizontal wood slat fence gate with consistent gaps, often paired with black hardware for contrast.
- Mixed-material build, wood boards on a metal frame, which pairs the warm face with the sag resistance of steel.
- A taller gate section treated as a horizontal wood fence door, with an arbor or header above it to frame the entry.
- Board-width variation, alternating wide and narrow boards, carried across both fence and gate.
Keep one honest trade-off in mind. Custom horizontal designs cost more than a standard flat privacy fence because they genuinely take more material and more labor: a stay board in every section, trim strips over splices, tighter tolerances at the gate. That is not markup; it is carpentry time.
When to Build It Yourself and When to Call a Local Fence Company
A handy homeowner with a saw, a level, and a free weekend can build a solid single horizontal gate for a side yard. The steps above cover it. However, some situations justify a professional crew: double drive gates, gates on sloped ground, posts that need to be reset in rocky or alkaline soil, or storm damage tied to an insurance claim where the paperwork has to hold up.
Post condition is the deciding factor most people miss. A perfect gate hung on a leaning or rotted post will sag no matter what, and resetting posts in Sparks-area soil is its own job. If the posts moved, fix that first or have a local fence company assess it before any gate work starts.
Either way, the principles do not change in 2026 or after: square frame, vertical stay, real anti-sag bracing, hinges rated past the gate's weight, and board lines that match the fence beside them. Build to those and the gate will swing as straight as the fence it belongs to.
If you need horizontal wood fence installation, Reno Sparks Fence Pros can help.
Prefer to talk it through? Call (775) 369-4729 — a quick call is usually the fastest way to get a straight answer for your situation.